
Think fast! You’re just hours away from your next big client pitch, team update, or class presentation and starting from scratch.
Stressful, right?
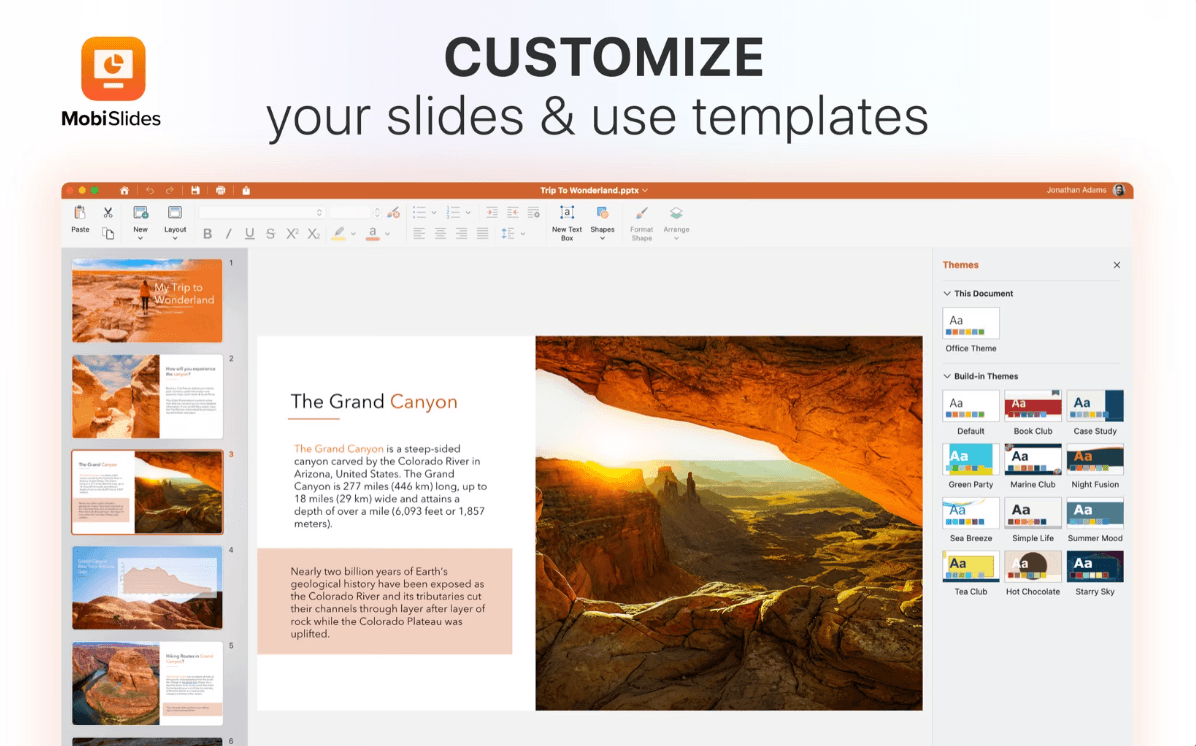
Thankfully, PowerPoint templates can be your ultimate superpower. These pre-designed slides come with layouts, graphics, text boxes, and design elements to help you create professional presentations in no time.
That sounds perfect, right? Maybe, until you realize PowerPoint’s default templates might not meet your standards.
Use this guide to learn how to build a custom Microsoft PowerPoint template from scratch, adjust colors, fonts, logos, and layouts, and even refine existing designs to fit your style.
By the end, you’ll know exactly how to craft a template that supercharges every presentation you create.
Using existing PowerPoint templates
Pressed for time? Building a custom Microsoft PowerPoint template isn’t always an option, but that doesn’t mean your presentation has to look rushed.
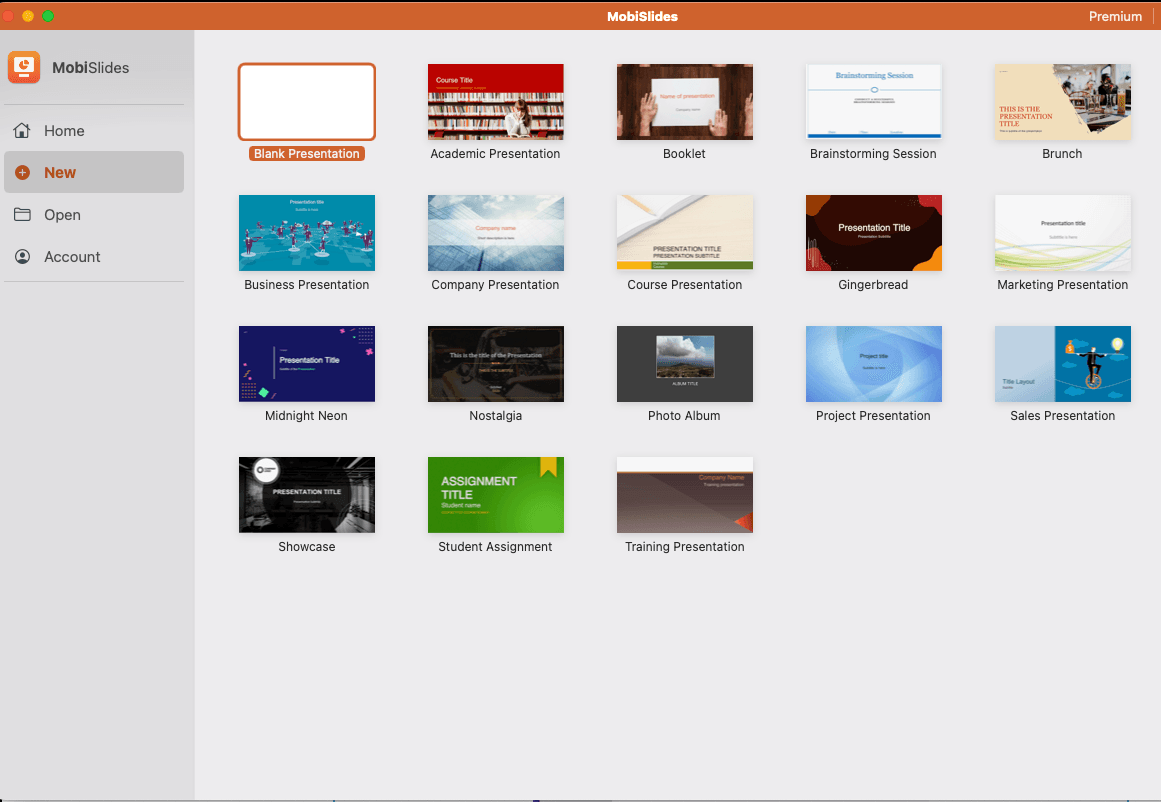
PowerPoint’s pre-designed templates are a lifesaver – ready to use and simple to tweak, even if you’re not a design expert.
The best part? These designs aren’t just time-savers; they’re versatile enough for personal or commercial use, letting you create professional presentations in just a few clicks.
Creating a custom PowerPoint template from scratch
If you want full creative control over your presentations, designing a custom PowerPoint template is the way to go.
By starting from scratch, you can tailor every detail – colors, fonts, layouts, and placeholders – to suit your needs perfectly.
The process might seem a bit daunting at first, but with the right steps, designing custom office templates that reflect your unique brand or style is simpler than you think.
Step 1 – Open PowerPoint
If you’re on Windows, select Blank Presentation from the start screen, or go to File → New → Blank Presentation.
For Mac users, PowerPoint might automatically open a new presentation when launched – if so, you can skip this step and dive right in.
The blank canvas you've just created will serve as the foundation for your custom PowerPoint template.
Step 2 – Set up the canvas
The first big decision when creating your custom office templates is the slide size. Choosing the right dimensions ensures your presentation looks great across screens and devices.
Most modern presentations use the Widescreen (16:9) format, which fills screens better and provides more design flexibility than the older Standard (4:3) ratio.
To set the slide size, navigate to the Design tab in the ribbon.
Select the Slide Size from the dropdown menu.
Stick to your chosen size! Changing slide dimensions after adding content can lead to formatting issues.
Step 3 – Customize the slide orientation
If you've decided to go with a custom slide size, you'd next have to decide on the slide layouts: the page orientation (Landscape or Portrait) and scale (to fit the screen or cropped.)
While Landscape and scale to fit work best for traditional presentations, Portrait and Crop can be useful for posters or infographics.
With your canvas set, you’re ready to start designing your PowerPoint template with the perfect dimensions and layout for your needs.
Step 4 – Access the Slide Master
The Slide Master is the backbone of your custom PowerPoint template, which allows you to make global changes to your slides, ensuring consistency across your presentation.
To access the Slide Master on Windows, go to the View tab in the ribbon and choose Slide Master in the Master Views group.
To access the Slide Master on Mac, click Master, then choose Slide Master.
The Slide Master panel will open, displaying the main "parent" slide at the top, followed by all the "child" layout slides. Any changes made to the "parent" slide will cascade down to all associated layouts, saving you time and effort.
Step 5 – Customize the Slide Master
Once inside the Slide Master, it’s time to start customizing. Focus on the Master Slide at the top – this is where you’ll establish the core elements for your template.
To adjust the positioning of placeholders, simply drag and drop them into the desired spots. You can also include specific graphics, such as your company logo, to appear on every slide, by accessing the Master Slide properties.
Even if you don’t think you’ll use elements like footers or page numbers, include them for consistency, especially if your template will be shared across teams.
Step 6 – Set up your colors, fonts, and backgrounds
Establishing a cohesive look for your slides is key to a professional presentation. Use the Slide Master tab to define the colors, fonts, and backgrounds for your PowerPoint template.
Some tips:
Name and save your color scheme for easy reuse.
Save your font set with a clear name.
Customize the background styles using solid colors, gradients, or pictures.
With these customizations, your Slide Master sets the tone for the entire presentation.
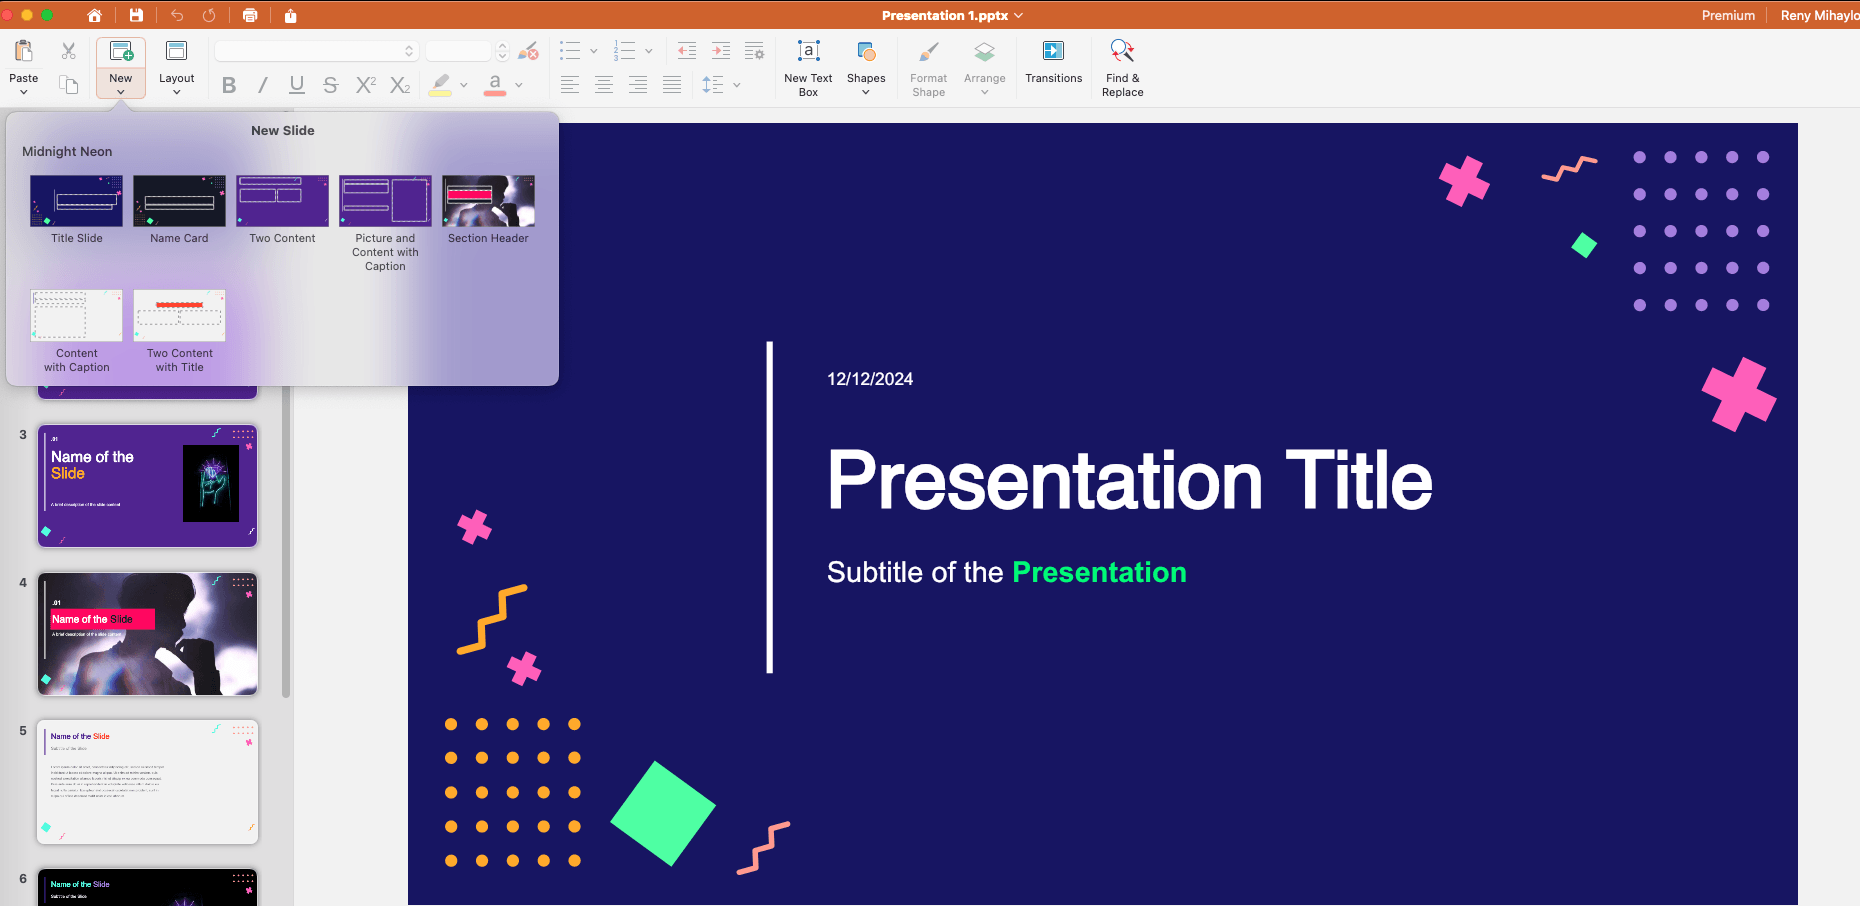
Step 7 – Customize your slide layout
After configuring the Master Slide, it’s time to refine the individual slide layout, as it's essential for structuring your content effectively. Select layout slides from the panel, then add or modify placeholders, graphics, or text boxes as needed.
To hide elements from specific slides (e.g., background graphics or logos), go to the Slide Master tab and check Hide Background Graphics. Create new layouts or duplicate existing ones, and ensure your slide layout helps users understand their purpose.
Step 8 – Finalize your template
Once your PowerPoint template is complete, it’s time to save it as a reusable file, which ensures your hard work is preserved and ready to be shared or used repeatedly.
To save your PowerPoint template on Windows:
Go to the File tab, select Save As, and choose a location for your file from the dialog box.
In the Save as type dropdown menu, select PowerPoint Template (.potx).
Enter a descriptive name for your template and click Save.
And here is how to save your PowerPoint template on Mac:
Choose a location for your file (e.g., Desktop or a specific folder).
Enter a descriptive name for your template and click Save.
By saving your PowerPoint template in the .potx format, it becomes a reusable framework for future pitch decks.
Step 9 (BONUS) – Optimize your template for future use
To make your template truly user-friendly and professional, take a few extra steps to optimize it before sharing or using it across devices.
Ensure you have the correct file size
Large designs (over 2–3 MB) can slow down PowerPoint and cause frustration. Compress your largest slide image, any high-resolution ones, or replace them with placeholders to reduce the file size.
Test your color contrasts
View your template on different devices, including projectors and lower-resolution screens, to ensure colors appear as intended. Adjust any colors that might be difficult to see or clash in various settings.
Always save templates in the right folder
On Windows, save your template in the Custom Office Templates folder to make it easily accessible when creating a new PowerPoint presentation.
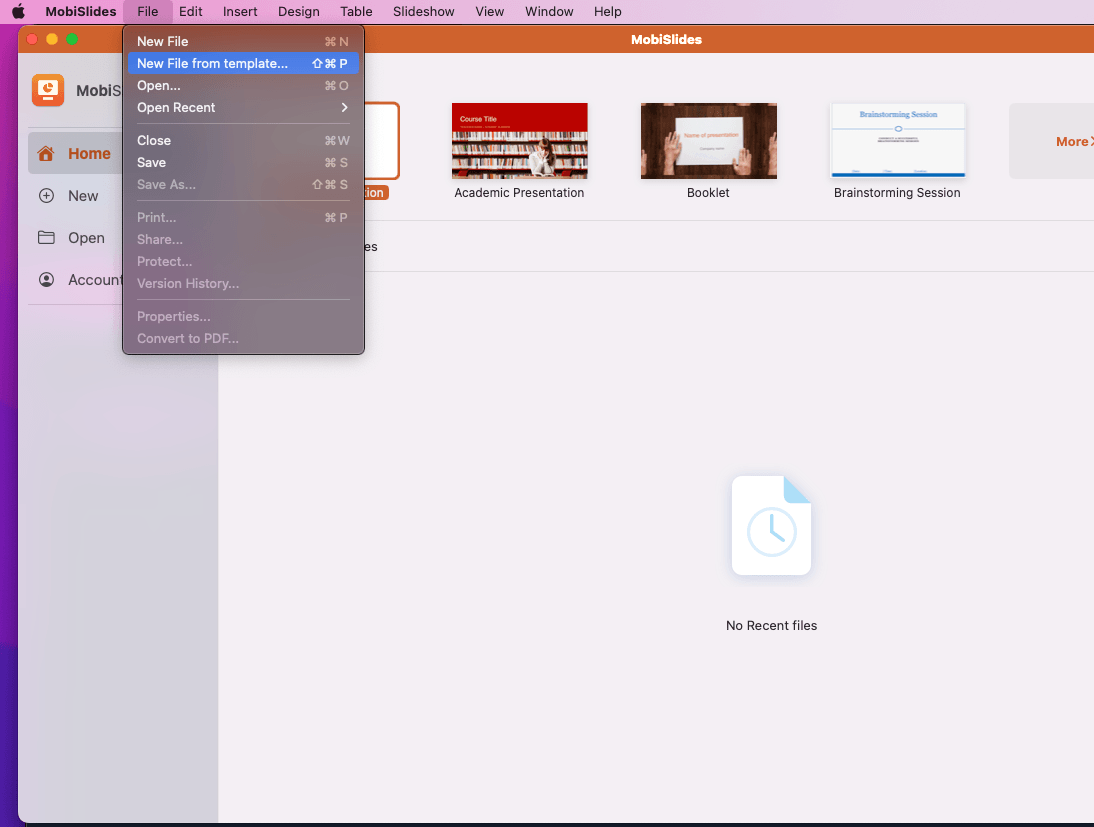
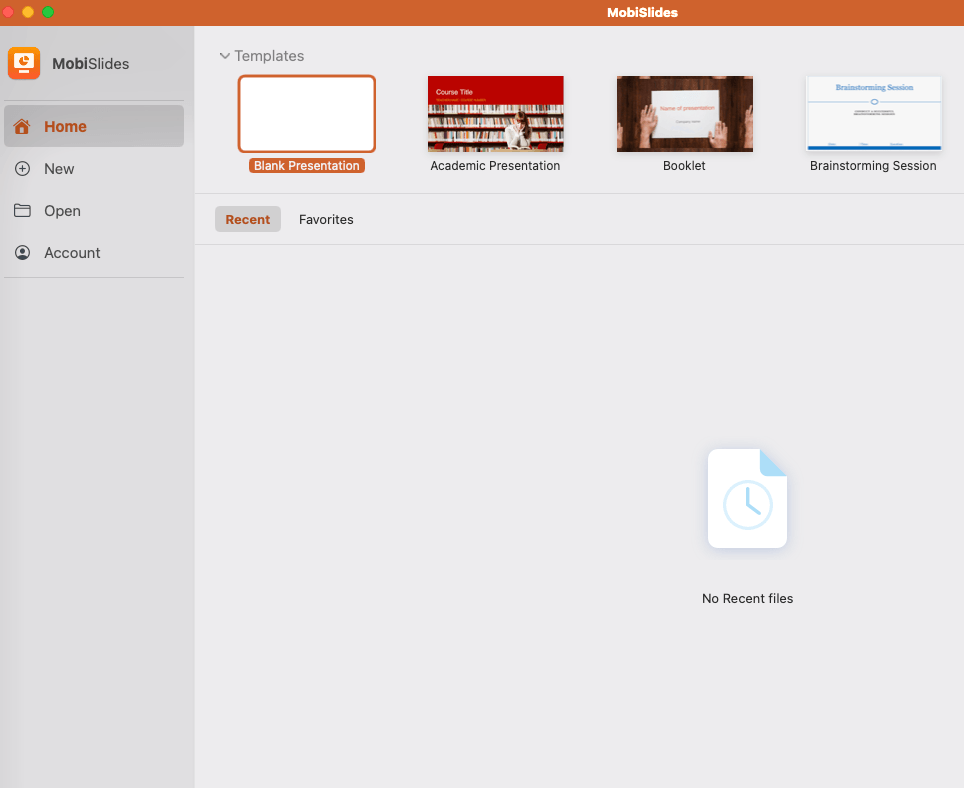
On Mac, your saved designs are automatically stored in the PowerPoint Templates folder. You can access them by selecting File → New from Template in the PowerPoint menu.
Consider using a PowerPoint alternative with built-in templates
If you’re looking for a fresh take on presentations, consider exploring PowerPoint alternatives for Windows and Mac with built-in templates.
Tools like Canva, Google Slides, or LibreOffice (and did we mention MobiSlides?) offer modern, intuitive designs that cater to diverse needs – from business pitches to educational lectures.
Many of these platforms provide ready-made designs optimized for collaboration and quick customization, perfect for those short on time, and are often highlighted as the best in the industry.
Plus, their cloud-based functionality ensures easy access and seamless sharing across devices.
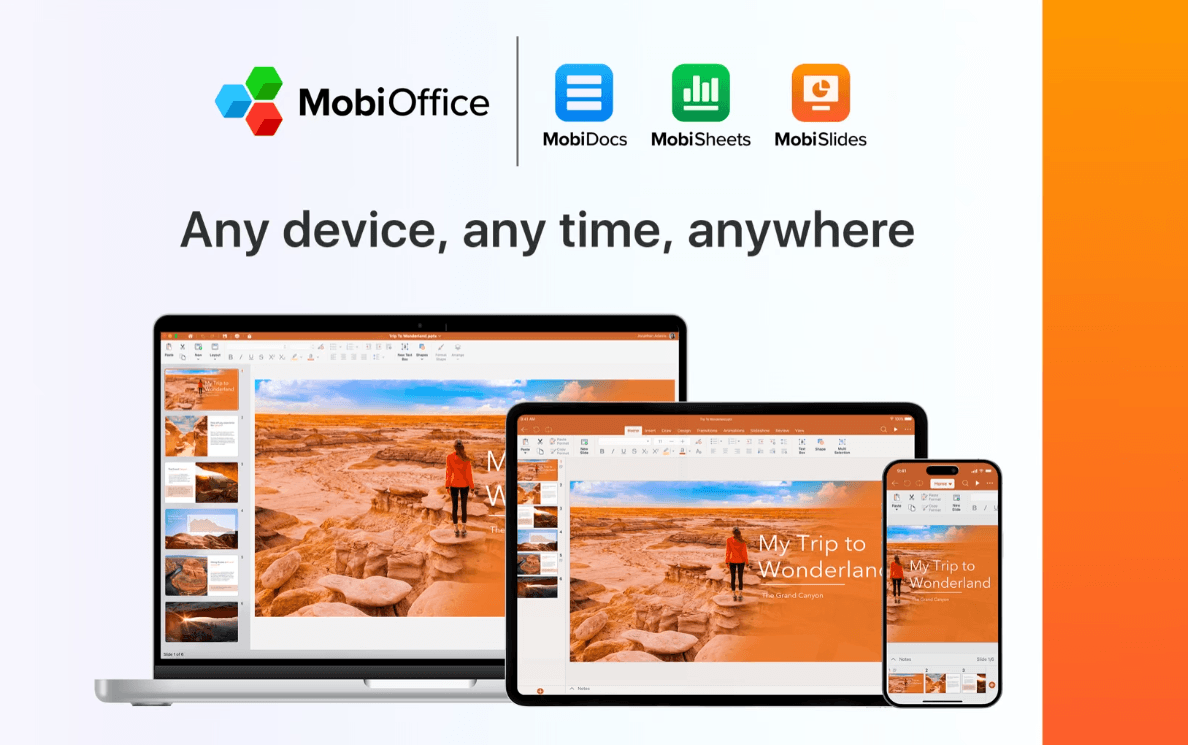
Transform your creativity into productivity with MobiSlides
Designed to save you time without compromising on quality, MobiSlides offers a wide array of professional designs and intuitive tools that make building impactful slideshows into a quick activity.
With comprehensive compatibility across formats like PowerPoint and Google Slides, MobiSlides allows you to seamlessly continue working on existing files or start fresh with customizable layouts and themes.
Why settle for standard pitch decks when you can create presentations that captivate your audience and reflect your unique style?
Frequently asked questions
How to use a custom slide size?
Customizing your slide size is ideal for ensuring your presentation fits screens, posters, or unique display formats perfectly. To set a custom slide size, go to the Design tab and click Slide Size in the ribbon.
How can you apply a new template to an existing PowerPoint presentation?
Open your existing presentation.
Go to the Design tab
Click Browse for Themes
Choose your template file (.potx).
PowerPoint will then update your slides with the new design. You may need to adjust slide formatting to align with the new template.
How can you delete a Layout Slide from Slide Master?
Navigate to the View tab and click Slide Master.
In the left-hand panel, locate the layout you want to remove under the Slide Master.
Right-click on the layout and select Delete Layout.
Remember, only delete layouts you’re certain you won’t need, as default layouts are often mapped to pasted slides from other presentations.
What is the difference between a PowerPoint template and a theme?
A PowerPoint template is a pre-designed file that includes slide layouts, design elements, and placeholders for content. Templates can be reused to maintain consistency across presentations.
A theme, on the other hand, is a design framework within PowerPoint that controls the color scheme, fonts, and effects applied to slides. Themes are a part of templates but can also be used independently to update the visual style of a presentation.
Conclusion
Creating and using custom PowerPoint templates doesn’t have to be intimidating. By following the steps outlined here, you can design templates that save time, maintain consistency, and reflect your unique style.
Whether you’re using built-in options, creating your own, or exploring alternatives like MobiSlides, Google Slides, or Libre Office, the right tools can transform your presentations from ordinary to exceptional.
Ready to elevate your slides? Try MobiSlides today and unleash your creativity!